Saturday, September 14, 2013

Playing with "Take Wing"

Club Scrap's kit this month is a fun, colorful one called Take Wing. Here's a picture of the CS kit; the Lite kit ships Monday!


Isn't it fun?! Just love the swirls, feathers, leaves, and birds. It even has some flowers, which endears it even more to me. The colors are a glossy white, two shades of green, a red, and the prettiest navy I've ever seen in a paper. In fact, that navy print in the top right of the picture has a silver print on it--probably my most favorite CS paper of all time!

I decided to play with the kit today. I've been making cards a lot lately. I like being able to try new techniques (new to me, anyway) on a smaller scale. 

These are the materials I picked out: both greens and a navy. All of these came from the HPOPs (half pound-of-paper) that CS offers. I like getting this pack so I don't have to cut into my 8.5x11 or 12x12 papers. It comes with various sizes of the kit papers. I also pulled out the navy ribbon from the kit and the "Thank You" stamp from the Greeting UM (unmounted) stamp set. The embossing folder in the back has a feather design. It's from Paper Wishes. I always label my embossing folders so I can find the one I want quickly.


I only wanted to emboss part of the panel--leaving the top smooth for the greeting. I placed the stamp on the paper and adjusted the paper inside the embossing folder. Ran it through my Wizard, and the beautiful feather design appeared.

After stamping the greeting, I adhered the navy ribbon at the top of the embossing. Sliding a smaller piece under that one, I tied a knot, which makes it look like a bow. Love that tip!
Here is the finished card. I die cut some flowers out of some small papers from the HPOPs bag. I really can't make a project without adding flowers of some sort. The dies are from Paper Wishes. The tiny flower in the center is from Club Scrap's Birds of a Feather collection from a few years ago. The green is a great match with the Take Wing kit.

Monday, September 9, 2013

Horsin' Around

My family has horses, so I love to play with any art supplies that have a horse theme. My latest favorite is Club Scrap's Equestrian kit from November 2012. (There are several items still available from that collection! Check 'em out: http://www.clubscrapshop.com/store/c/112-Equestrian.aspx.)

I like using the pre-printed panels (cutaparts) in the Greetings to Go kits to make cards. They often have a greeting and artwork right on them, so they just need a bit of embellishment.
But sometimes I like to do my own stamping, as I did with this card. The wording is so cute. (Not sure what our girls asked for when we ended up with horses--perhaps giraffes!)
My top card uses embellished panels, and the bottom one a manila tag from my stash. Love the running horses stamp. I used Club Scrap sapphire, moss, and earth inks to get the collage effect.
I had to look if the Greetings to Go pack is still available, and it is! Love these fall colors! All Club Scrap's GTG packs come with card bases, panels, and envelopes to make 15 cards plus cutapart panels and embellishments. It's a great deal, and to have cards made with CS's quality cardstock is such a bonus.

Thanks for taking a look at my entry. Hope you have a blessed week!

Thursday, September 5, 2013

Fall Card for (another) OWH Challenge


Earlier this week, my wonderful MIL and I were discussing die cutting machines. Mine is the original Spellbinder's Wizard machine. It's not as sophisticated as some of the newer ones, but it works quite well. I recently purchased the Orchard Harvest Tags and Accents dies from Spellbinders--I just love the leaves!! I was trying to describe (over the phone) how embossed the leaves are, but I think I will just show her!

And this card doubles as the challenge to make a fall card at Marilyn's Cards blog for OWH's Labor Day weekend challenge.

For the leaves, I used the copper paper from Club Scrap's Ornamental kit--one of my favorite papers of all time. The papers are from Apothecary, with the yellow panel spritzed with green ink spray. I really like how this card turned out, and I will be including it in my next shipment of cards to Operation Write Home for the troops!

And Another OWH Challenge

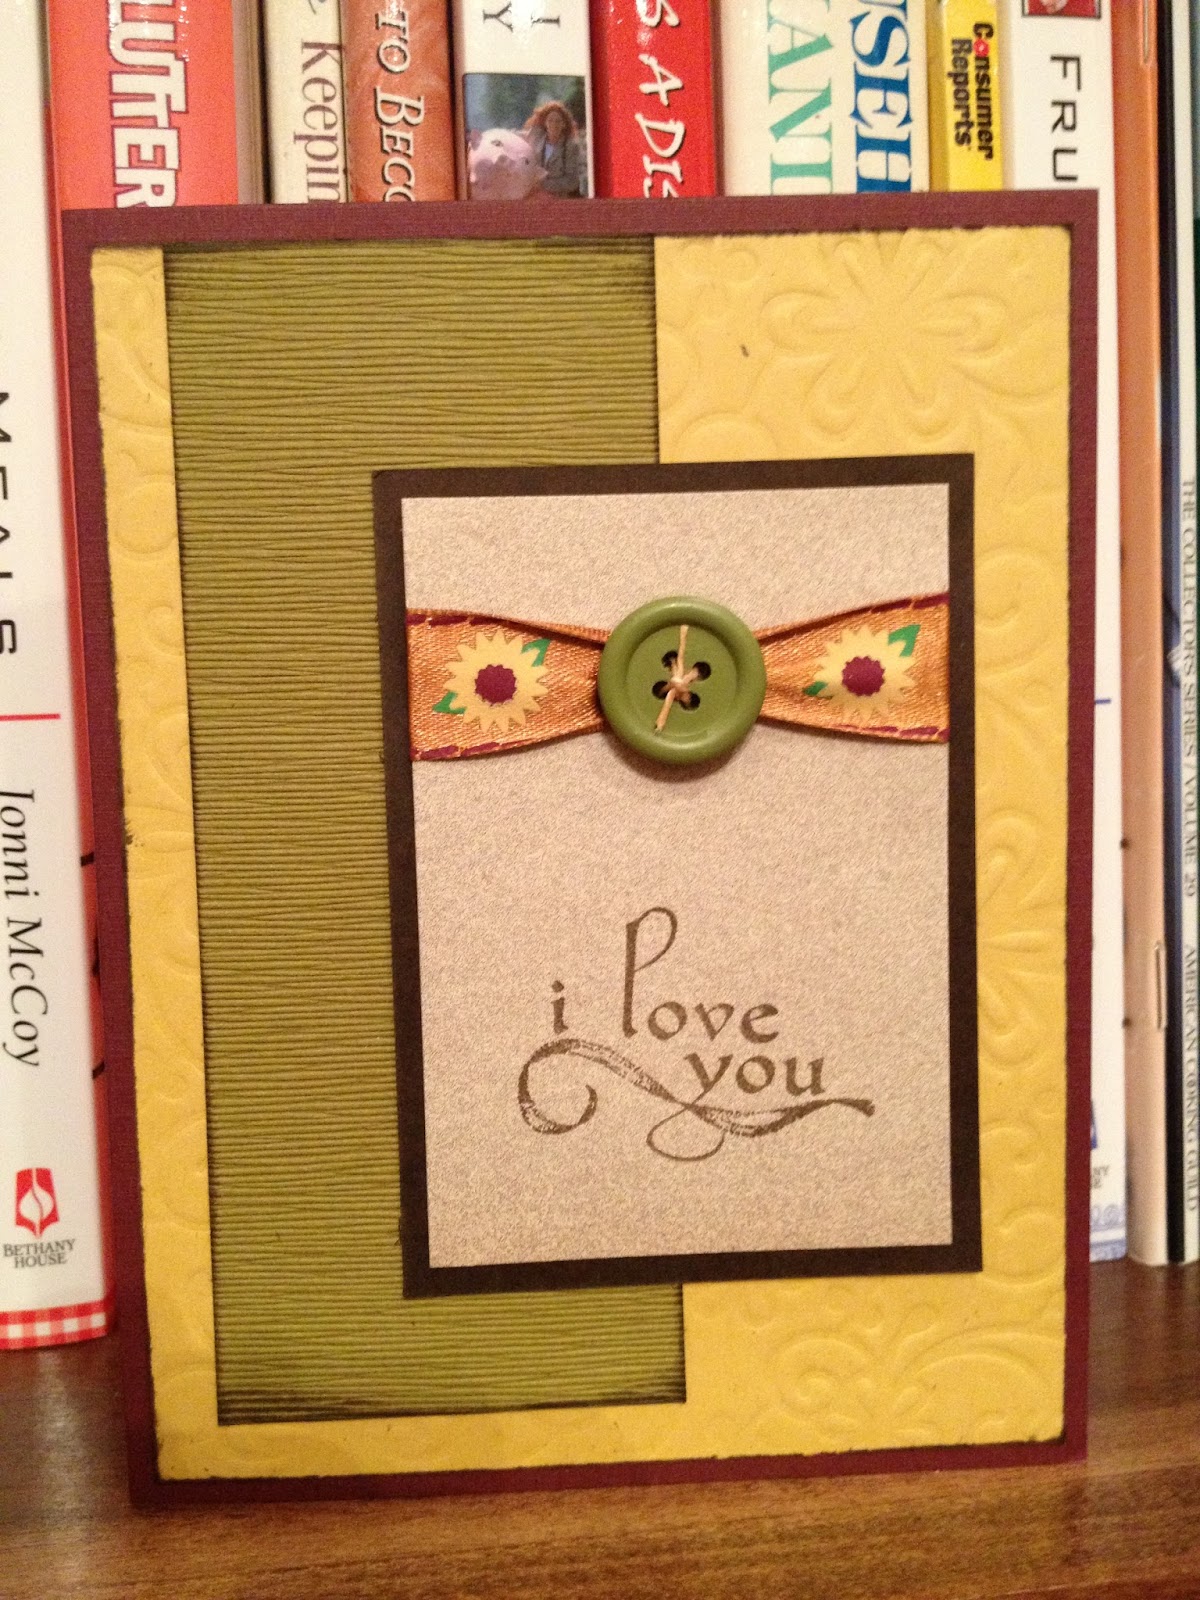
Participating in Annette's challenge for the OWH Labor Day blog hop, I used the sketch she chose to create a love card (well, actually I made two!)


First I made the one on the left, embossing the yellow panel (from Club Scrap's Apothecary collection) with a Spellbinder's embossing plate. After putting it all together, I decided to make another card, this time flipping the embossed panel over and running CS Leaf ink over the design. I think the ink really completes the card!

Studio Re-do Phase 1

Purple and green is my absolute color combination! I like them so much that I updated my blog to reflect that love affair--what do you think? I could share pics of all the purple things I have (especially my bling phone case!), but in keeping with the papercrafting theme of my blog, I'll instead share my recent shelf renovation. In fact, I'm redoing my entire studio, but it's a process.


 This is one area of the studio. I took out some shelving that was inefficient, that's why so much is on the floor! The two unfinished shelves in the back were the focus on this phase of the renovation.

We've had the shelves for years--they used to hold our homeschool books. I've often thought of painting them, and now was definitely the time! All the trim and cabinets in the studio are white, so I opted to paint the shelving white, as well. I had also wondered if stacking them was a good idea.
 And here is the completed shelving. I love the stacked look. The purple bins were purchased at Lowes.com. I was surprised at the variety of bins styles and colors they had. So glad to find purple ones!

I made tags for the bins using manila tags, spraying them with green ink spray. For the labels on the plastic bins, which I've had for many years, I just swiped a green ink pad across the labels.
There was also room on the shelf for three of my favorite machines. Underneath, I have plastic bins holding the supplies for each machine to keep everything together.

And that is the end of phase one of the studio renovation. I think I'll tackle the UM stamp storage area next!

Tuesday, September 3, 2013

O is for Oval

I'm back with one more entry for the OWH Labor Day weekend cardmaking challenge. This one was to use something on a card to represent the letters O, W, and H. For O, I used ovals. W is represented by the wine-colored card and flowers. And for H, there is the "hi" message. I used the same technique as my previous entry--wanted to try the frame layering with ovals, and I had a piece of the stamped print left over--couldn't waste that!